How to Repot a Houseplant
Your houseplants may live their lives indoors, but they know that spring has sprung. The season’s warm weather initiates new growth, which makes it the ideal time to repot your indoor garden.
Signs your houseplants require repotting include roots coming out of the bottom of the pot, water rushing through when you water and sluggish, weak growth. If the pot is filled with more roots than soil, it’s definitely time for repotting.
To have the best luck repotting your houseplants, keep the following guidelines in mind.
Select the right size pot. It might seem like a great idea to plant your houseplant in a much larger pot so you don’t have to repot for a long time, but by doing that you’ll be signing the plant’s death warrant. Excess soil around a plant remains wet and results in perpetually wet roots that succumb to fungal disease and rot.
Use a pot that is the same size as the existing container or just one size larger. You do want the plant to have new soil in which to grow, just not too much. The roots should fill about one-half of the pot.
Choose a new pot that has drainage holes. Keep in mind that plastic pots are the most water retentive. Terra-cotta pots tend to dry out quickly. If you prefer the look of clay but don’t want the pot to dry out fast, opt for glazed ceramic pots, which do a better job of retaining water than untreated clay.
Prevent transplant shock by watering the plant with warm water two to four hours prior to repotting.
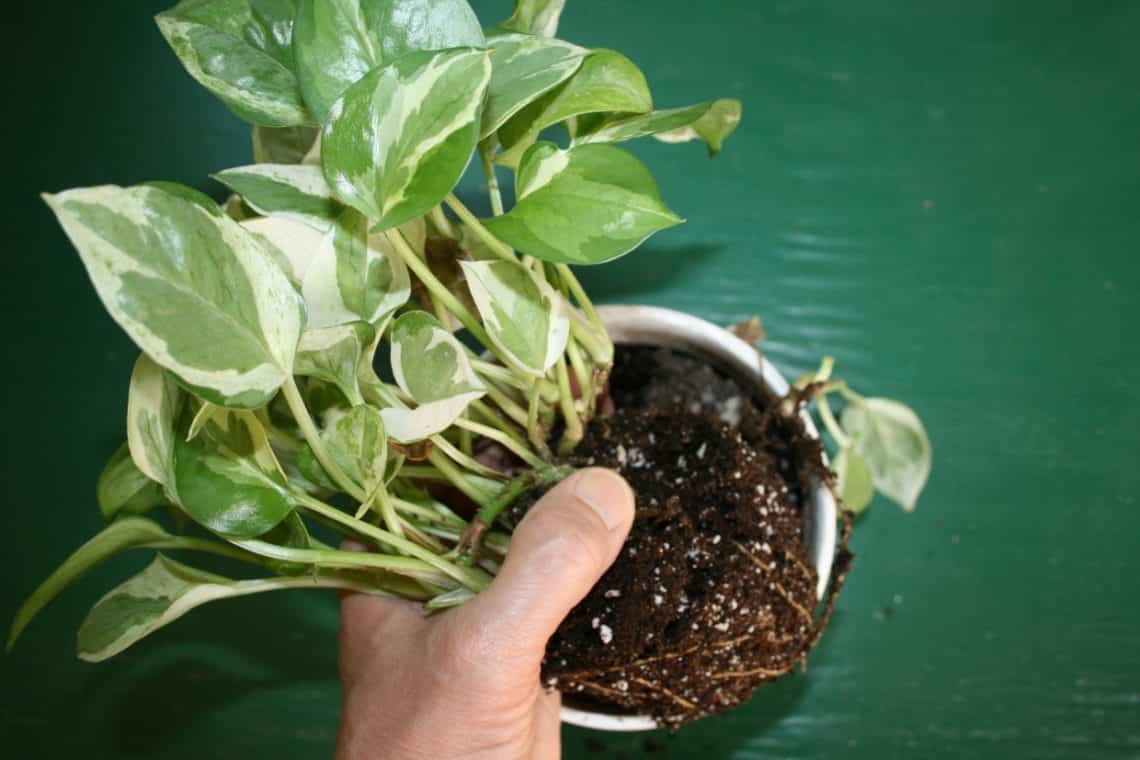
Remove the plant from its old pot carefully. Attempt to hold the pot upside down with one hand and ease it out of the pot with the other. If the plant gets stuck, try running a knife around the perimeter and try again. If the plant refuses to come out, you may have to cut the pot if it’s plastic or break it if its terra-cotta or ceramic. Prior to doing this, try soaking the entire pot in water for an hour. This may dislodge the plant from the pot.
Loosen plant roots and shake off excess soil. Trim especially thick root masses by 10 to 20 percent, which will encourage them to reach into new soil. If you want to plant in the same container, trim the root mass by one inch.
Fill the container two-thirds full with moist organic potting soil that drains well. Place the plant in the pot, fanning out the roots. Fill the pot with soil. While doing so, tap the container a couple of times during the process so that the soil settles. Fill the pot with soil to an inch below the pot rim. Tamp down the soil. You should have covered the plant roots but not the stem.
Water the plant well and let it drain. Don’t water again until the top inch of soil has dried out. This may take two to three weeks or even longer to occur, as most plants use less water when establishing. You’ll know the plant has established itself when it puts on new growth.
Wait to feed the plant until it resumes new growth. At that time give it a half-strength solution of an organic fertilizer.
Prepare to watch your houseplant flourish in its new soil.


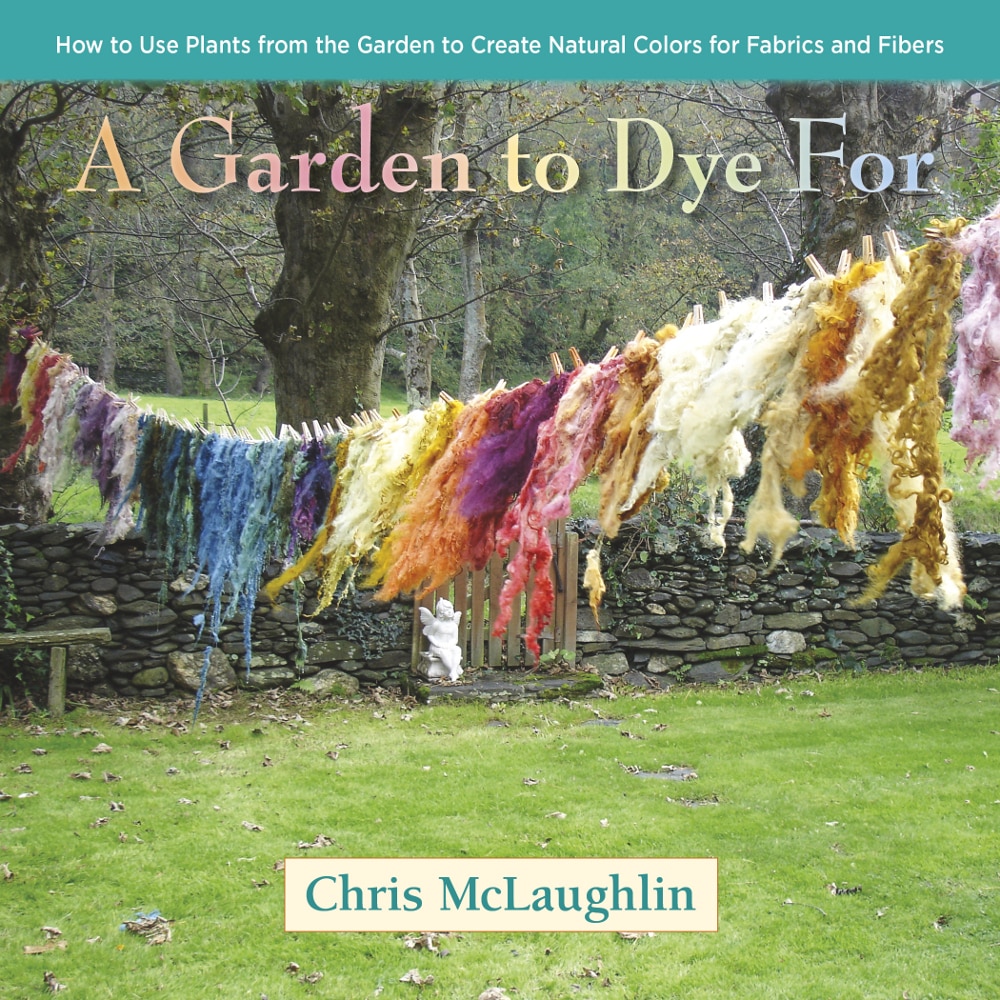 McLaughlin’s book is chock full of photos of naturally dyed items and features more than 40 garden plants that can be used to make a rainbow of colors for your eggs and more. She dyes with hot and cold dye methods. The latter is her favorite, because the process results in intense colors.
Here McLaughlin shares her cold dye method for your Easter eggs.
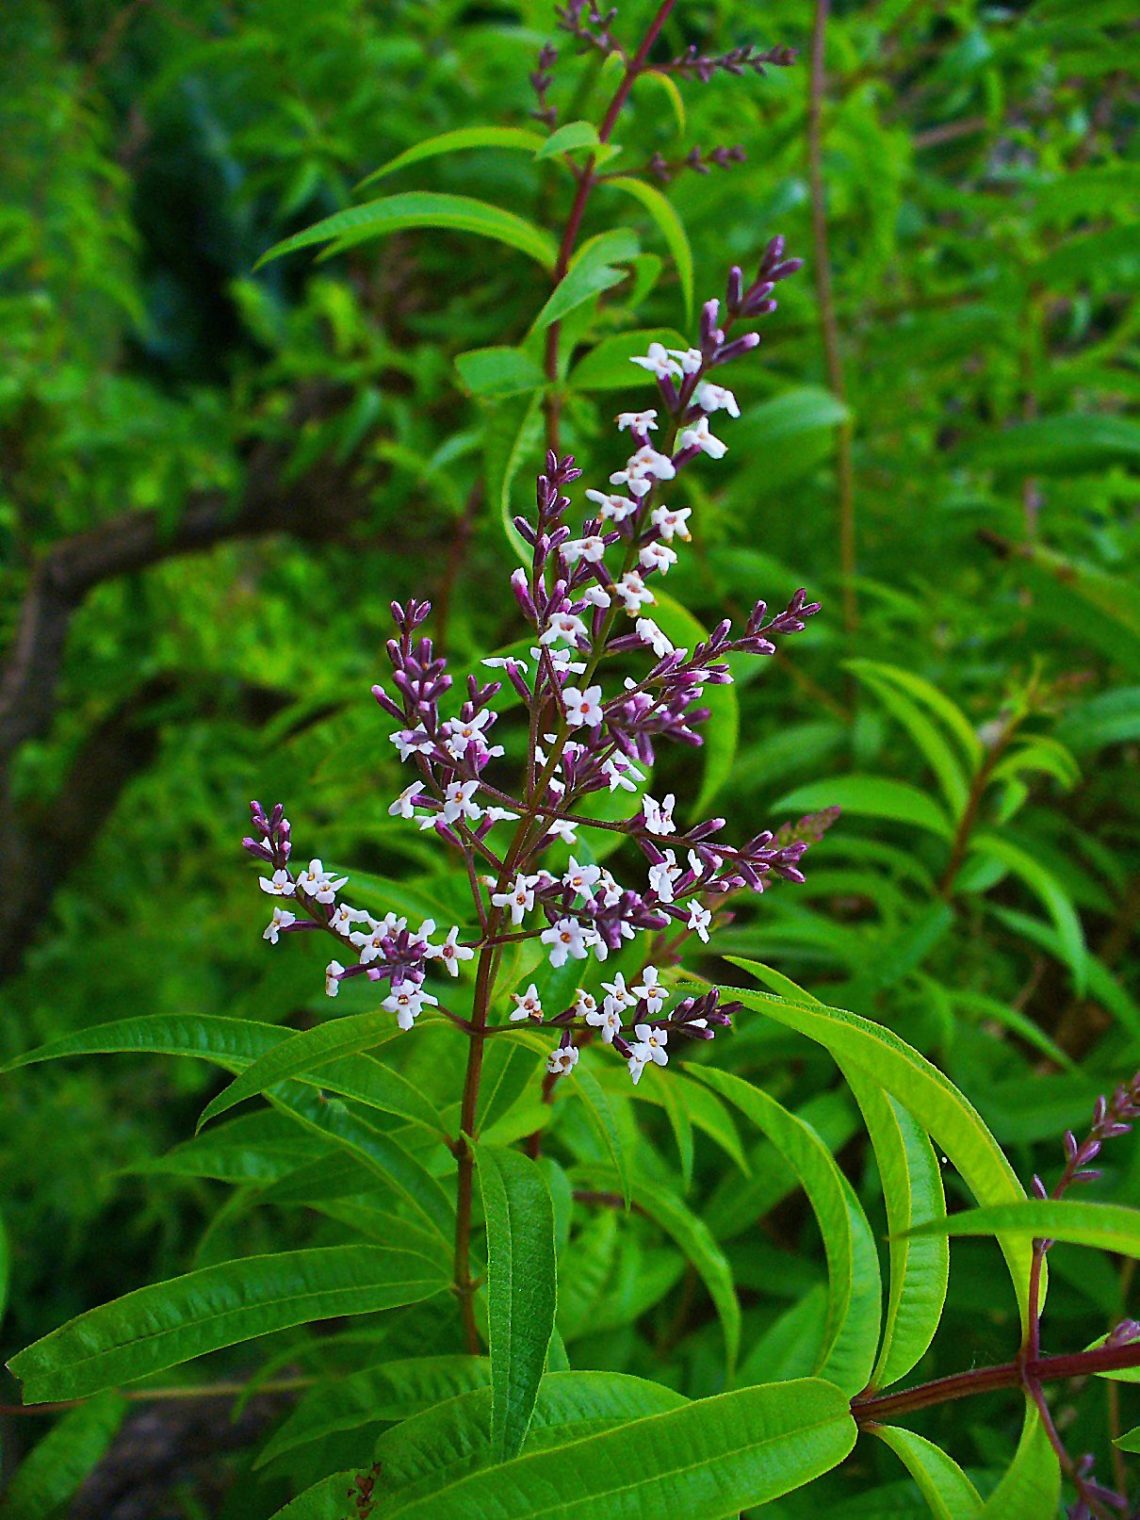
Pick plants from the garden. Good choices include rudbeckia, calendula, coreopsis, St. John’s wort, marigold, and chamomile. Make certain that the plant materials you gather from the garden are not toxic. Dyes for eggs to be eaten should always be made only from edible plants.
Use kitchen scraps. Try beets, blackberries, blueberries, onion skins, red cabbage, and turmeric.
Simmer the dye materials separately in pots of water for 20-25 minutes. Remove the materials from the water.
Pour each dye color into a glass jar or bowl and add 1/8 cup of vinegar. Let the liquid cool.
Add hardboiled eggs to each dye color. Leave the eggs in the solutions for at least an hour and up to 10 hours. (If you plan to eat the eggs and soak them for more than one hour, keep them soaking in the dye mix in the refrigerator).
Note how you made your favorite dye colors. To ensure that you can recreate your masterpiece hues, record what materials you used, how much, and how long you kept the eggs in the dye.
Julie Bawden-Davis is a garden writer and master gardener, who since 1985 has written for publications such as Organic Gardening, Wildflower, Better Homes and Gardens and The Los Angeles Times. She is the author of seven books, including
McLaughlin’s book is chock full of photos of naturally dyed items and features more than 40 garden plants that can be used to make a rainbow of colors for your eggs and more. She dyes with hot and cold dye methods. The latter is her favorite, because the process results in intense colors.
Here McLaughlin shares her cold dye method for your Easter eggs.
Pick plants from the garden. Good choices include rudbeckia, calendula, coreopsis, St. John’s wort, marigold, and chamomile. Make certain that the plant materials you gather from the garden are not toxic. Dyes for eggs to be eaten should always be made only from edible plants.
Use kitchen scraps. Try beets, blackberries, blueberries, onion skins, red cabbage, and turmeric.
Simmer the dye materials separately in pots of water for 20-25 minutes. Remove the materials from the water.
Pour each dye color into a glass jar or bowl and add 1/8 cup of vinegar. Let the liquid cool.
Add hardboiled eggs to each dye color. Leave the eggs in the solutions for at least an hour and up to 10 hours. (If you plan to eat the eggs and soak them for more than one hour, keep them soaking in the dye mix in the refrigerator).
Note how you made your favorite dye colors. To ensure that you can recreate your masterpiece hues, record what materials you used, how much, and how long you kept the eggs in the dye.
Julie Bawden-Davis is a garden writer and master gardener, who since 1985 has written for publications such as Organic Gardening, Wildflower, Better Homes and Gardens and The Los Angeles Times. She is the author of seven books, including 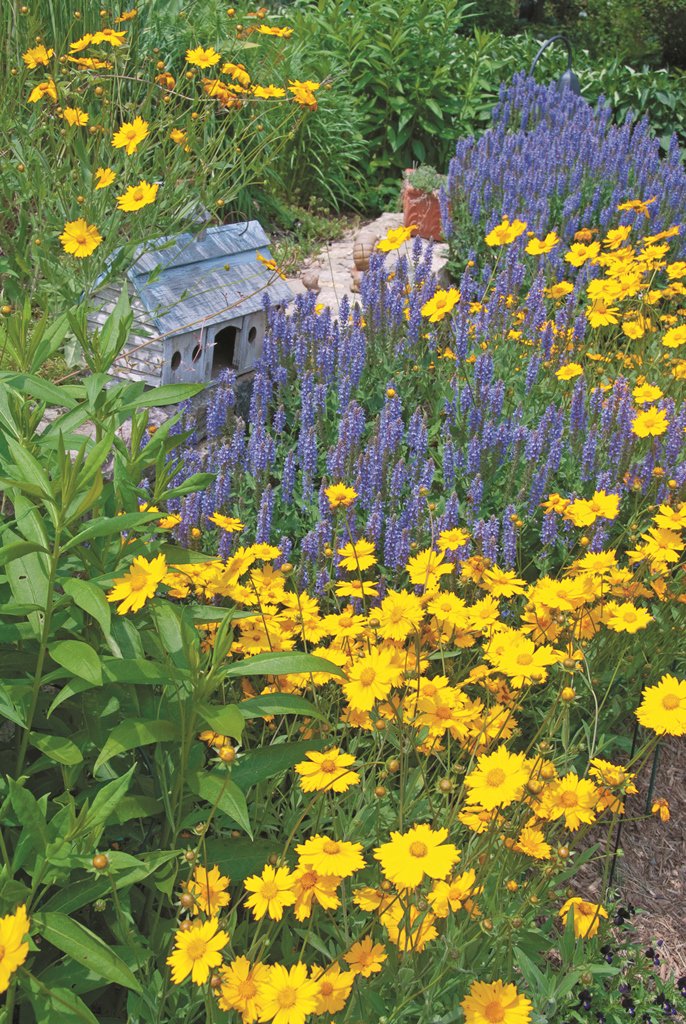

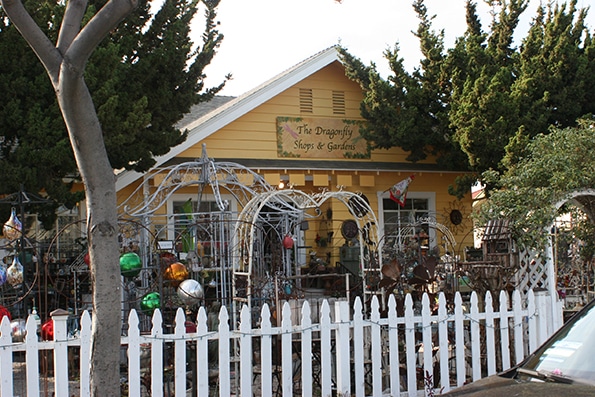
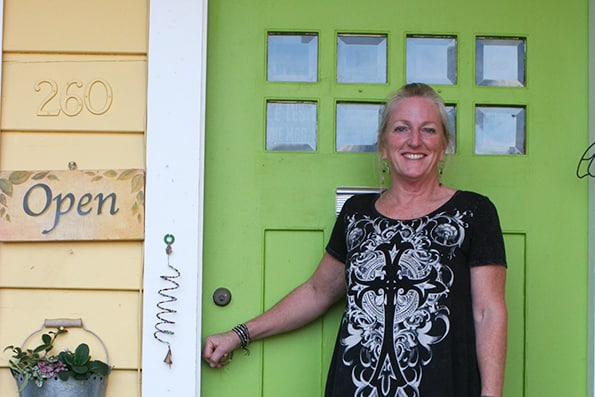 The shop is located in a 1924 former house that consists of 1,500 square feet, including a yard where she carries garden products. In July 2013, after weathering the recession and continuing to grow, she doubled her space by setting up the Dragonfly Studio in another historic house next door. While the first building holds the merchandise, the second serves as an indoor and outdoor art studio and classroom space.
“The studio has the same welcoming vibe as the shop—with lots of character,” says Davidson. “The space features incredible artists and instructors who are known throughout the community.”
The shop is located in a 1924 former house that consists of 1,500 square feet, including a yard where she carries garden products. In July 2013, after weathering the recession and continuing to grow, she doubled her space by setting up the Dragonfly Studio in another historic house next door. While the first building holds the merchandise, the second serves as an indoor and outdoor art studio and classroom space.
“The studio has the same welcoming vibe as the shop—with lots of character,” says Davidson. “The space features incredible artists and instructors who are known throughout the community.”
 The studio harkens back to Davidson’s original intent with the shop. “When I first opened the business, my primary emphasis was holding beading classes, so I reserved one room as a classroom,” she says. “In the retail world, they might have called that move ‘Beth’s Folly,’ because it would be considered sacrilegious to use retail space for a classroom.”
The tactic increased customer engagement and business, though. “Those who came to bead were introduced to the shop and vice versa,” Davidson says. “Best of all, many customers have taken my beading class for several years and have become great friends.”
The studio harkens back to Davidson’s original intent with the shop. “When I first opened the business, my primary emphasis was holding beading classes, so I reserved one room as a classroom,” she says. “In the retail world, they might have called that move ‘Beth’s Folly,’ because it would be considered sacrilegious to use retail space for a classroom.”
The tactic increased customer engagement and business, though. “Those who came to bead were introduced to the shop and vice versa,” Davidson says. “Best of all, many customers have taken my beading class for several years and have become great friends.”