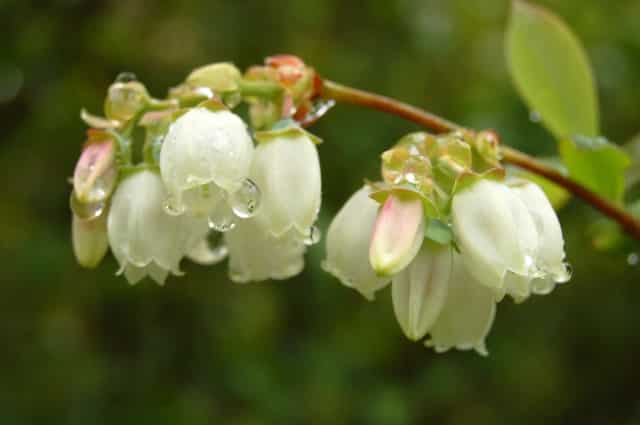
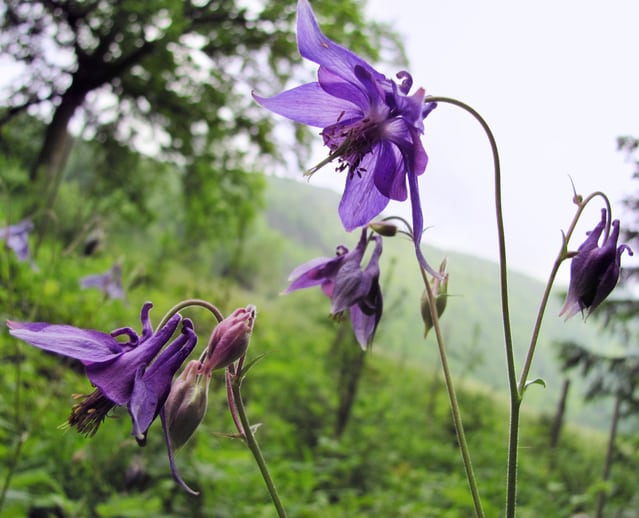
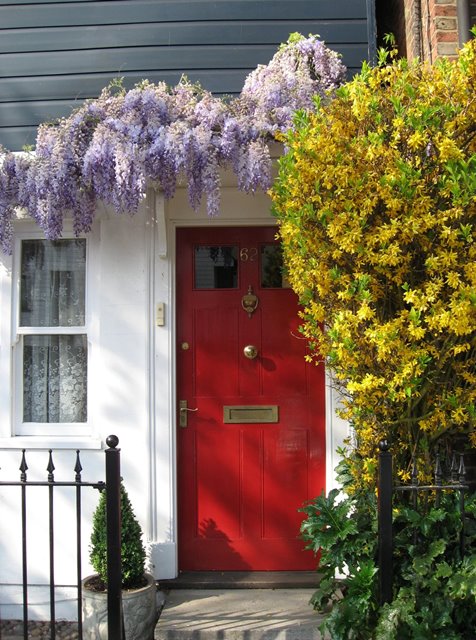
Compared to issues like war and climate change, gardening may seem frivolous. Yet growing flowering perennials, annuals, shrubs, vines and trees is something we can do to make the world a better place for ourselves and wildlife.
Growing a pollinator-friendly garden is an important contribution to our climate and food supply, says Rhonda Fleming Hayes, author of
Pollinator Friendly Gardening: Gardening for Bees, Butterflies, and Other Pollinators. “Gardeners may even save the day,” she says. “No one garden can solve the pollinator problem, but small changes by many can have an enormous impact by providing wildlife with refuge amidst shrinking habitat.”
Why Pollinators Are Vital
“Pollinators are responsible for every third bite of food we take—including healthy veggies and fruits,” says Hayes. “Of the entire world’s plant species, two-thirds depend on animal pollination. Many people think of pollen as that yellow irritant that gets in their noses and on their clothes, but the truth is that pollen is magic dust, and pollinators like bees, wasps, butterflies, moths, beetles, flies (not house), hummingbirds and bats do the vital work of spreading that dust around.”
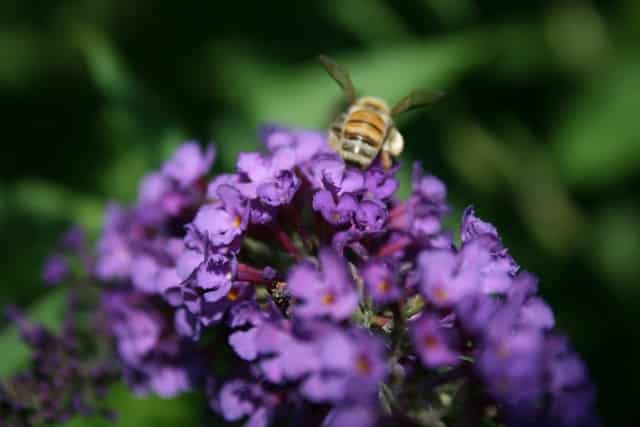
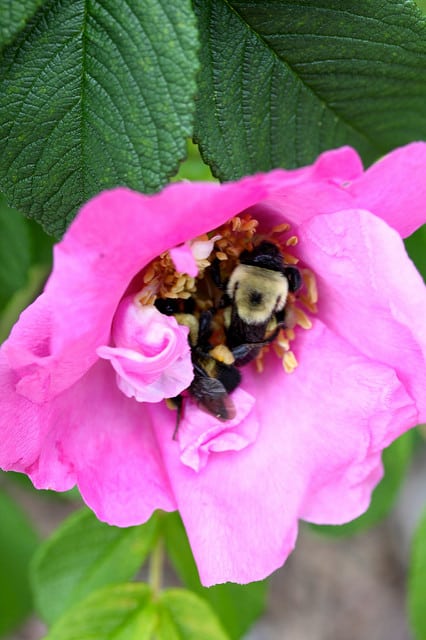
Bees are the top pollinators, including honeybees, which are general foragers that visit a wide variety of flowers. Other types of bees that do pollinating work include bumblebees, carpenter bees, sweat bees and mason bees. Some of these other types of bees are very effective in their pollination efforts. For instance, it takes 100 honeybees to do the same work as just one mason bee.
Gardening for the Bees
Creating a pollinator-friendly garden that feeds and protects the bees is a lot easier than you may think. Hayes suggests attracting these busy buzzing insects by providing the following:
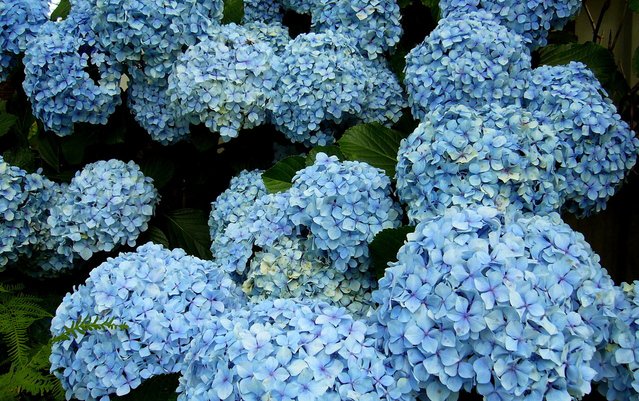
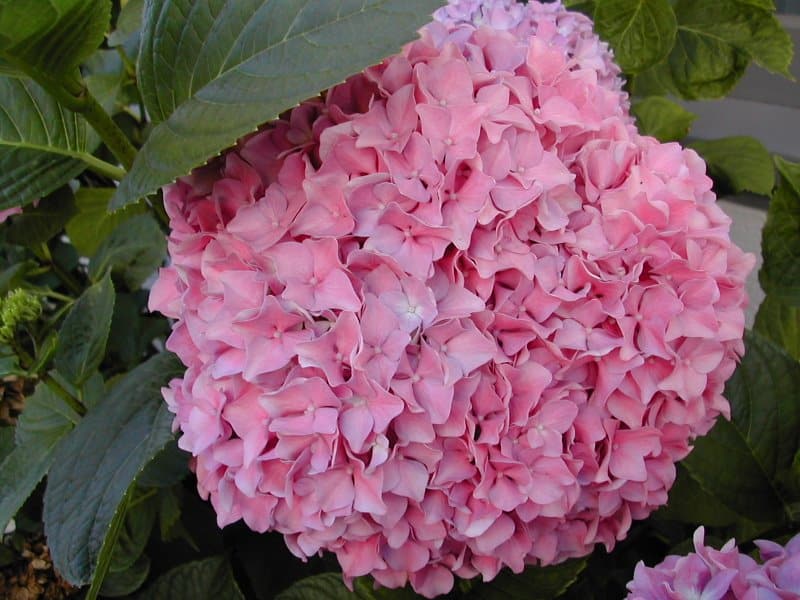
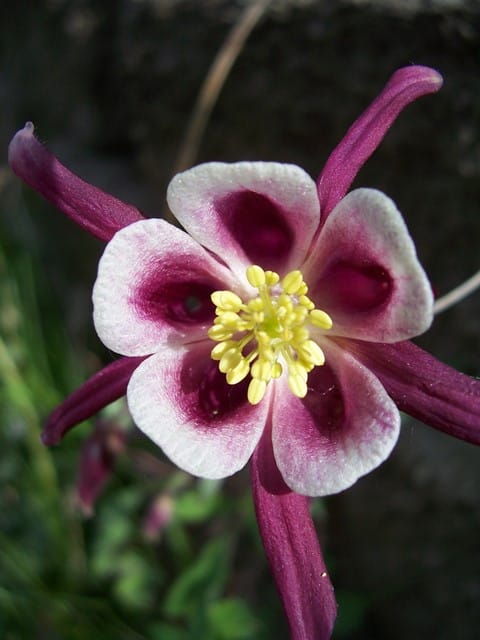
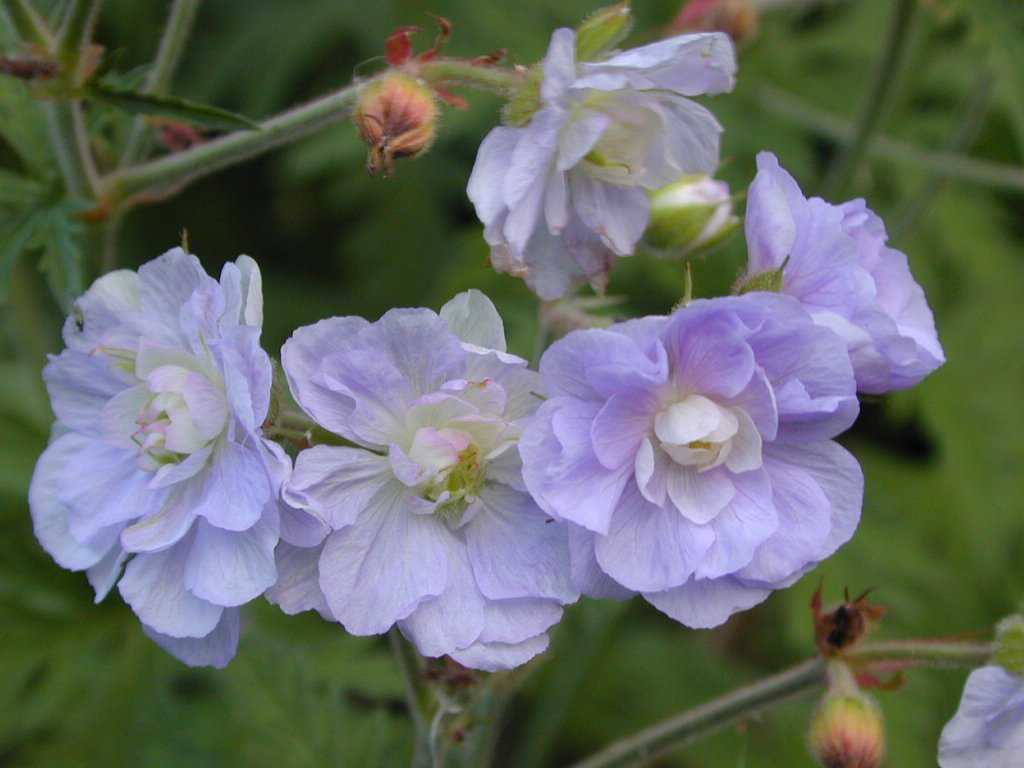
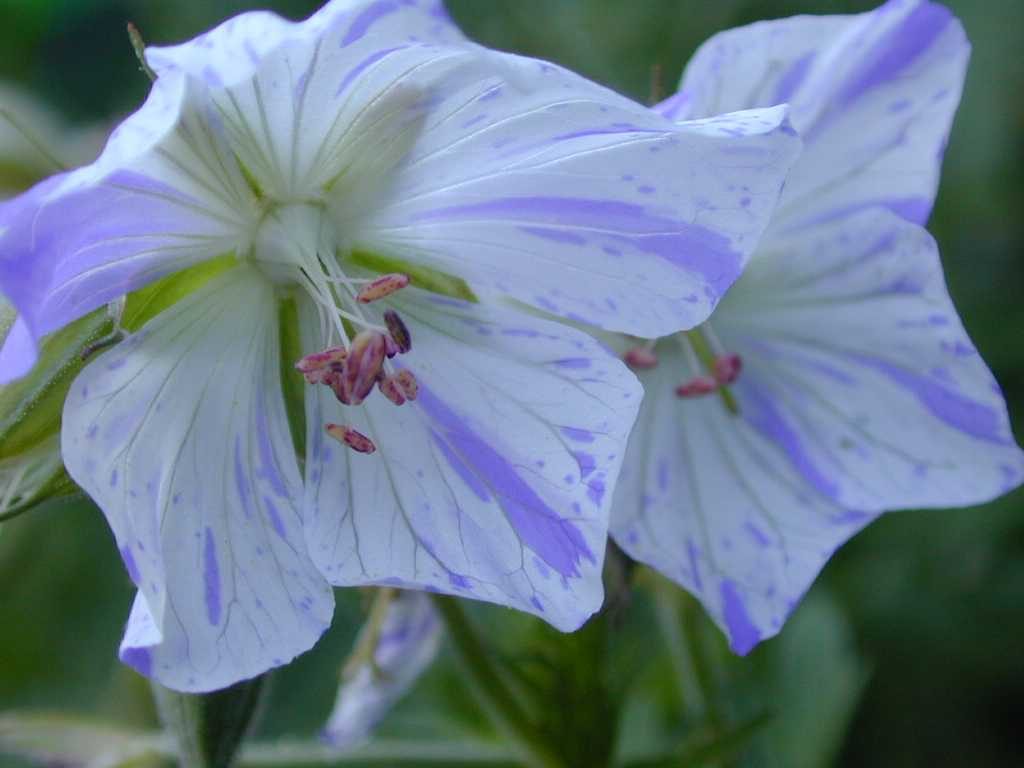
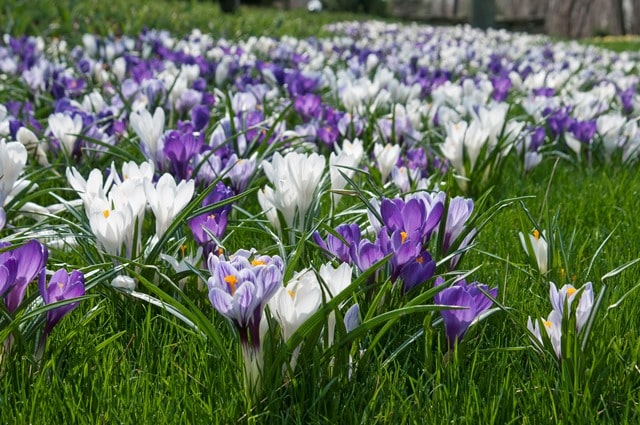
Abundant food. Plant more flowers. Many gardeners have gravitated toward easy care gardens in recent years that feature evergreen foliage plants, but that doesn’t give bees and other pollinators anything to feed on. Look into growing as many types of bee-friendly flowers as possible, including aster, goldenrod (
Solidago), purple coneflower (
Echinacea), milkweed (
Asclepias), zinnia, cosmos, sunflower, calendula, alyssum, blazing star (
Liatris), herbs like borage, mint, oregano and basil, and trees and shrubs like linden, crabapple, mountain ash, maple, redbud,
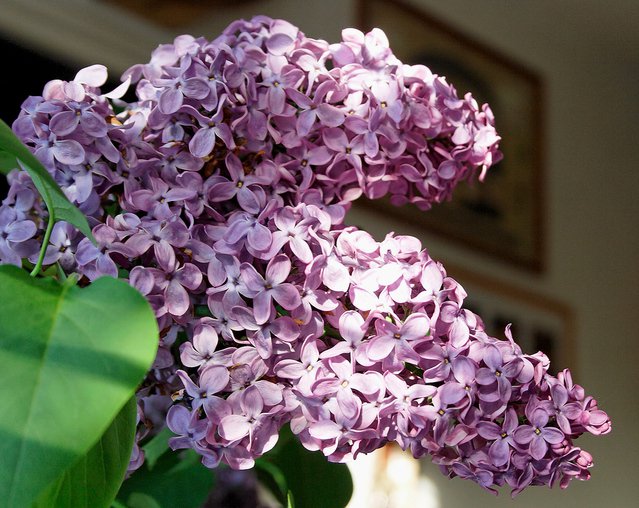
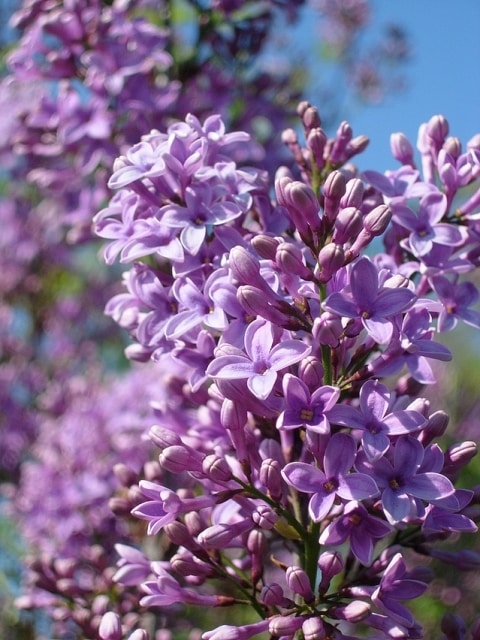
azalea, lilac, pussy willow, holly and viburnum (many more are listed in Hayes’s book.)
Safe environment. Avoid pesticides, as they don’t discriminate, but kill off all bugs—including
beneficial ones, like bees and butterflies. As a matter of fact, certain pesticides (neonicotinoids) are now suspected as one of the reasons for colony collapse disorder (CCD), a disturbing phenomenon that causes the worker bees of honeybee hives to suddenly disappear, leading to the demise of entire colonies.
Rather than spraying pesticides, Hayes suggests taking a wait and see approach. “Most pest problems in the garden solve themselves if you just let Mother Nature take care of them.”
Places to nest. Giving bees locations to nest and raise their young goes a long way toward keeping your garden pollinator friendly. “Most bees won’t hurt you, unless they’re disturbed, and even then, they don’t want to sting you,” says Hayes, who notes that more than 90 percent of bee species in North America are solitary ones.
To provide bees with welcoming accommodations, leave decaying wood in the garden, where they can enter and set up house. Also keep in mind that 70 percent of bees nest in the ground. This means that they require bare soil that hasn’t been heavily mulched. Also help out the bees by locating nesting areas in close proximity to foraging sites containing flowering plants.
Julie Bawden-Davis is a garden writer and master gardener, who since 1985 has written for publications such as Organic Gardening, Wildflower, Better Homes and Gardens and The Los Angeles Times. She is the author of seven books, including Reader’s Digest Flower Gardening, Fairy Gardening, The Strawberry Story, and Indoor Gardening the Organic Way, and is the founder of HealthyHouseplants.com.
 (Joey Vedders/Freeimages.com)
 (Mira Pavlakovic/FreeImages.com)
 (Julia Freeman-Woolpert/Freeimages.com)
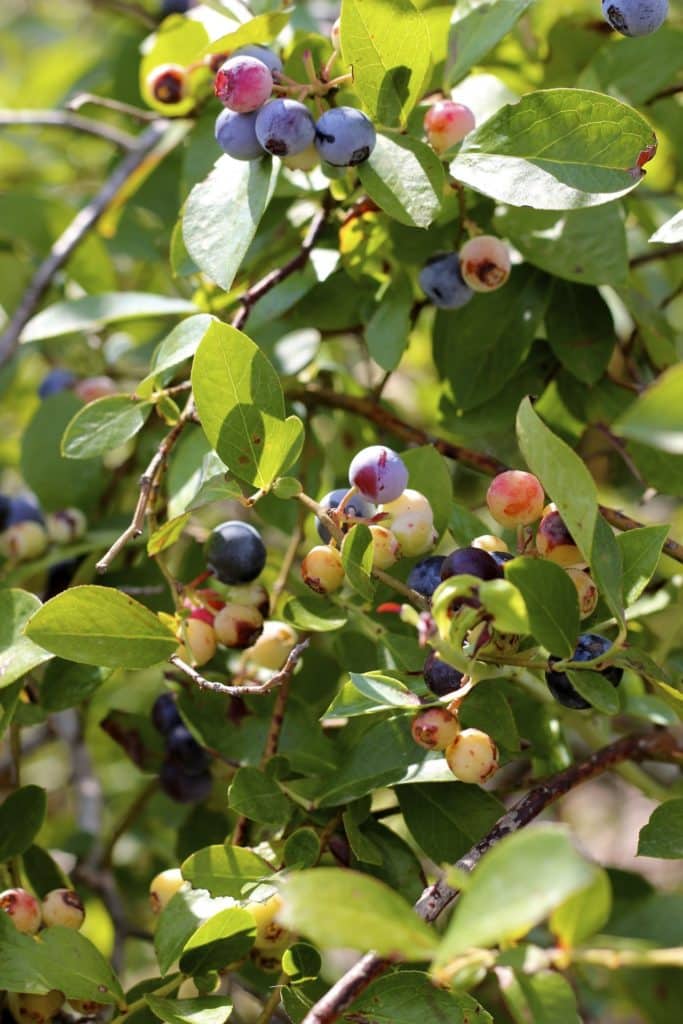 (Kelsey Johnson/Freeimages.com)

 (Rhonda Fleming Hayes)
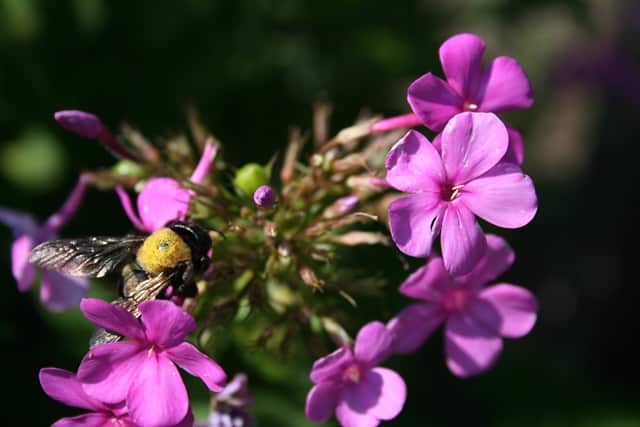
 (Julie Bawden-Davis)

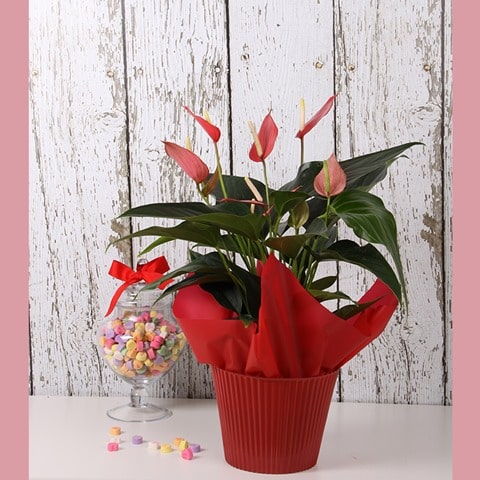 Red Arthurium
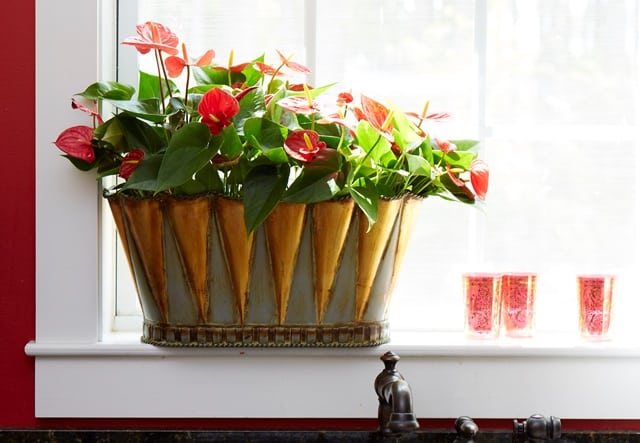


 (Plantscapers Inc. )
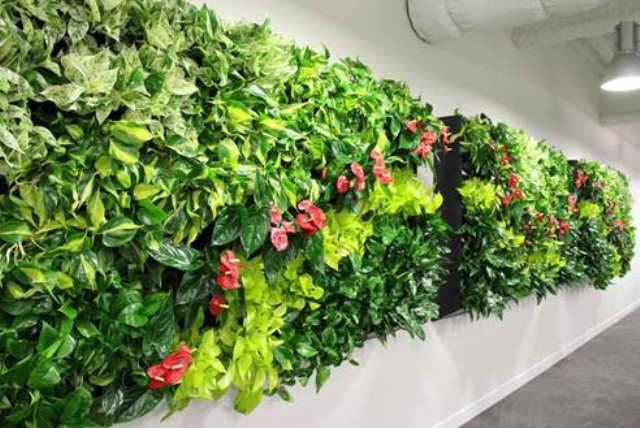 (Plantscapers Inc. )
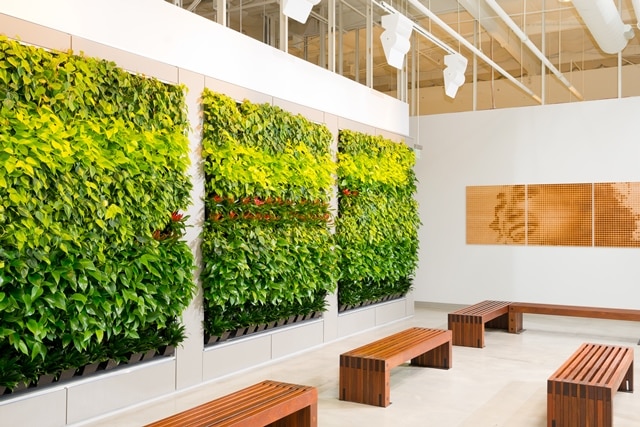 (Plantscapers Inc. )
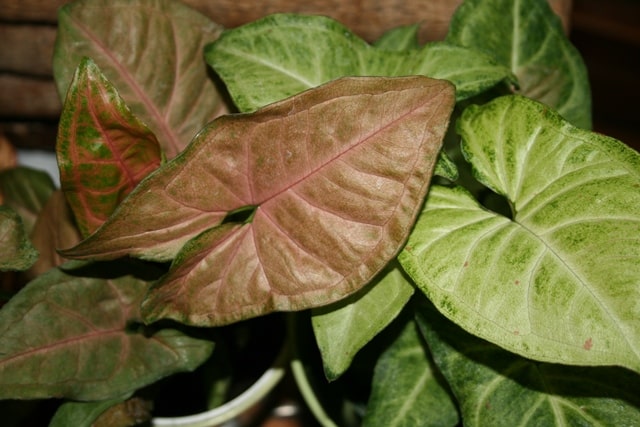 Arrowhead Plant
 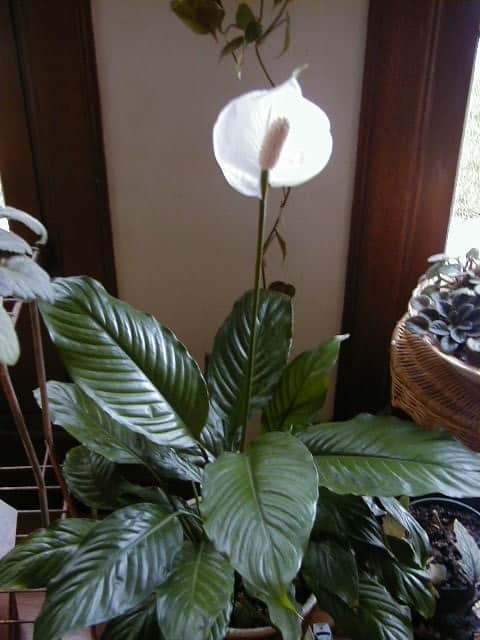 Peace Lily
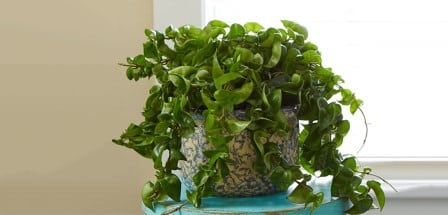
 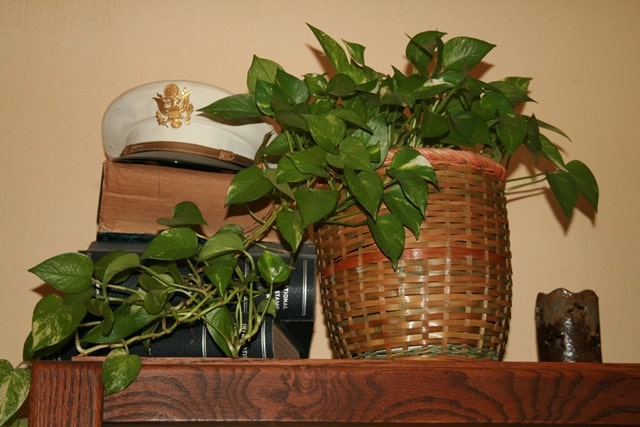 Pothos
 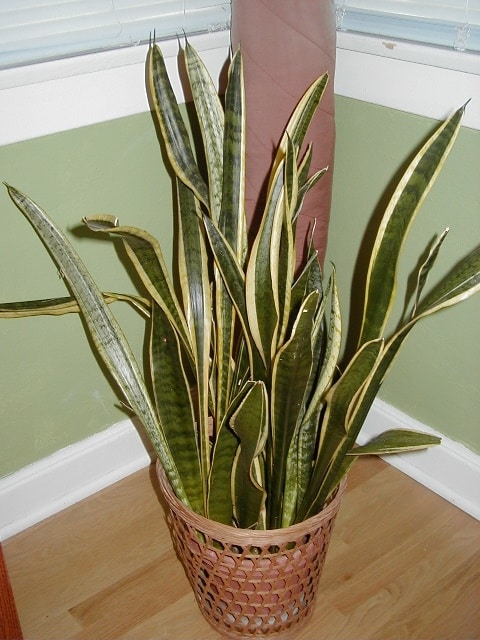 Sansevieria
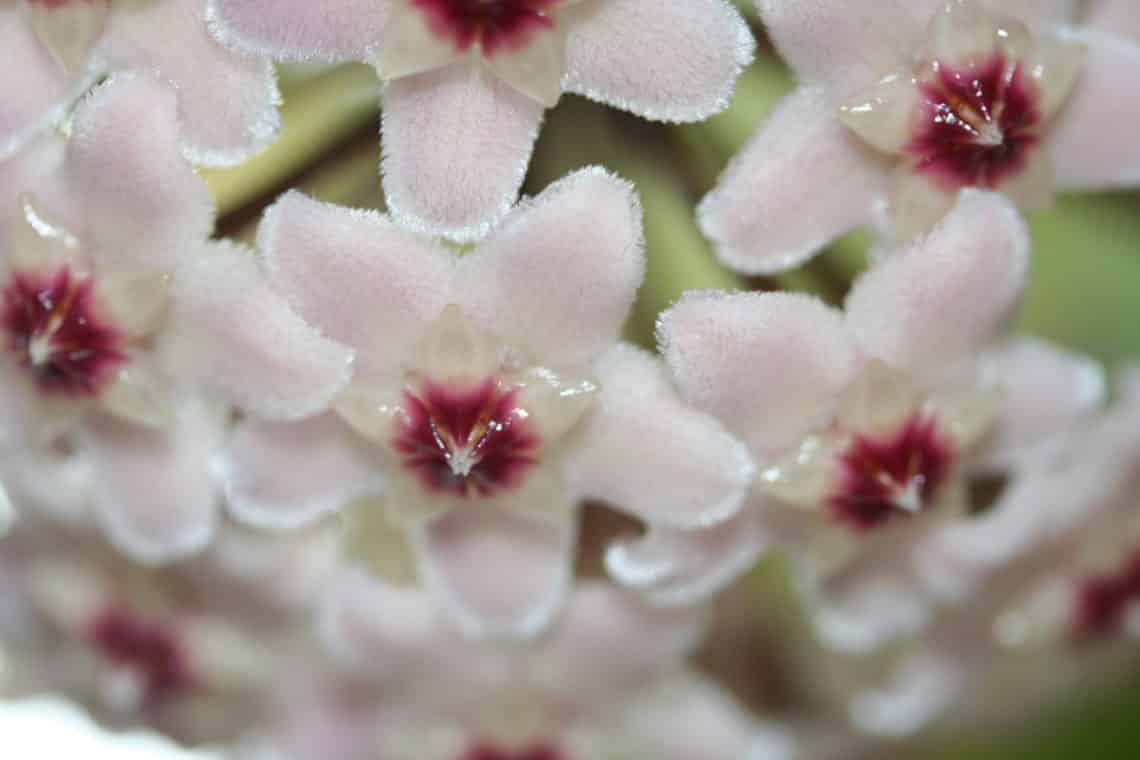
 Hoya
Hoya 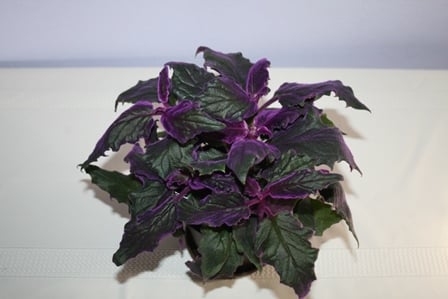 Purple Passion Plant
  Alternanthera
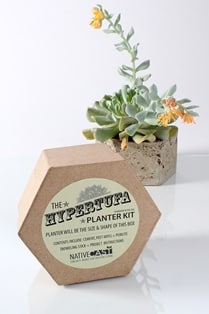 (Native Cast)
 (Longfield Gardens)
 Jeff Price Solar-Powered Garden Light
  Jeff Price Solar-Powered Garden Lights
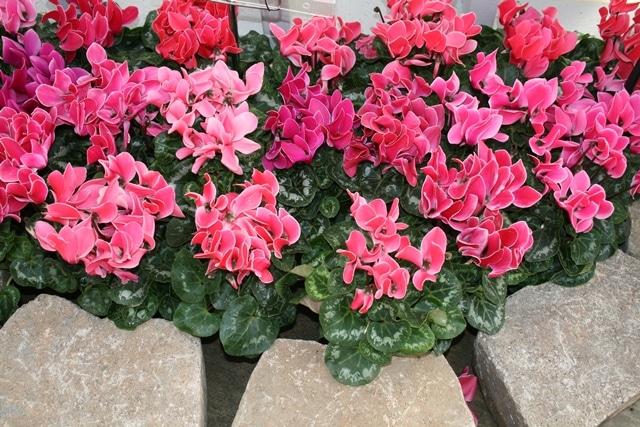
 Cyclamen
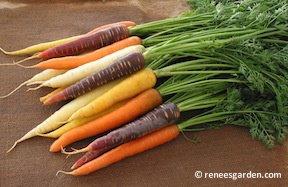 Veteran seed expert Renee Shepherd, who founded Renee’s Garden in 1998 and prior to that in 1985 started Shepherd’s Garden Seeds, spends a minimum of two years trialing plants before introducing them to her customers. The process, which starts with identifying varieties of interest and then growing them and trying them out, ensures that the seeds she carries produce the best possible results.
To choose her seeds, Shepherd starts by identifying potential varieties in one of two ways—from seed growers or observing what is trending in the food world.
“Every year at the end of January, big seed growers from all over the world meet with seed vendors and producers to discuss new, promising introductions,” says Shepherd, who is introducing for the 2016 season a split petal 19th century
Veteran seed expert Renee Shepherd, who founded Renee’s Garden in 1998 and prior to that in 1985 started Shepherd’s Garden Seeds, spends a minimum of two years trialing plants before introducing them to her customers. The process, which starts with identifying varieties of interest and then growing them and trying them out, ensures that the seeds she carries produce the best possible results.
To choose her seeds, Shepherd starts by identifying potential varieties in one of two ways—from seed growers or observing what is trending in the food world.
“Every year at the end of January, big seed growers from all over the world meet with seed vendors and producers to discuss new, promising introductions,” says Shepherd, who is introducing for the 2016 season a split petal 19th century 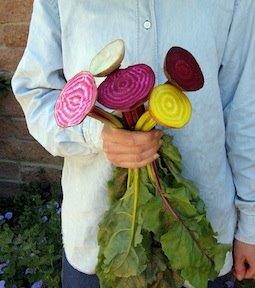 “We also look at what’s trending in the food world,” says Shepherd, author of three cookbooks books, including her latest,
 Humidity tray
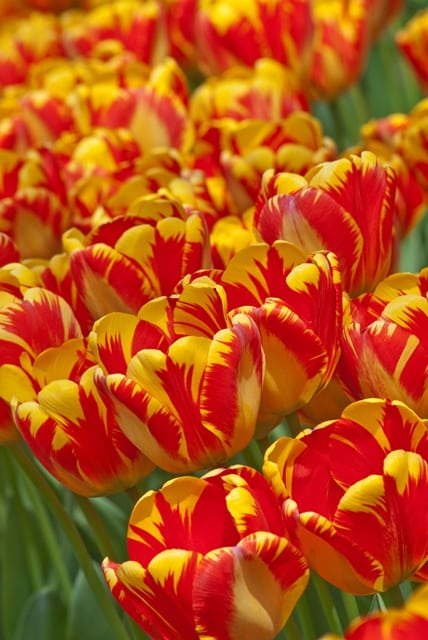
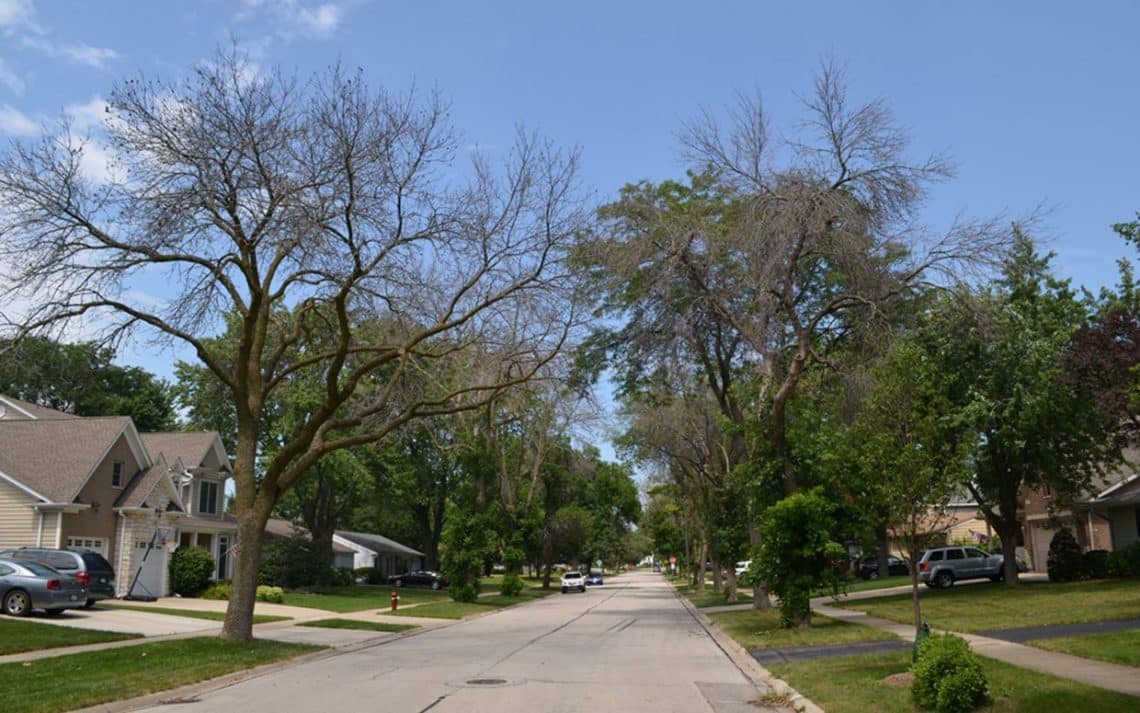
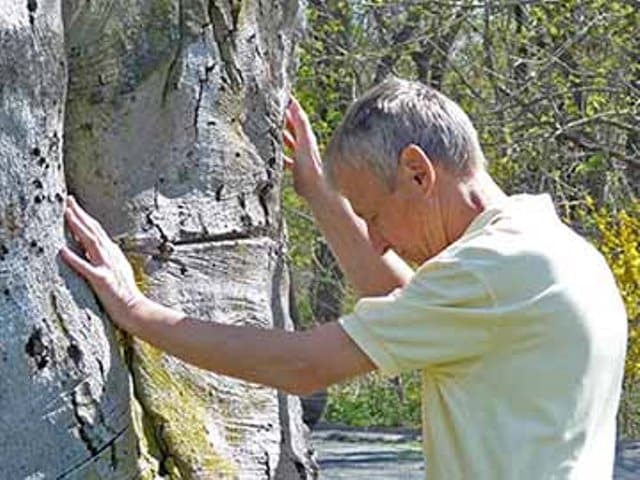
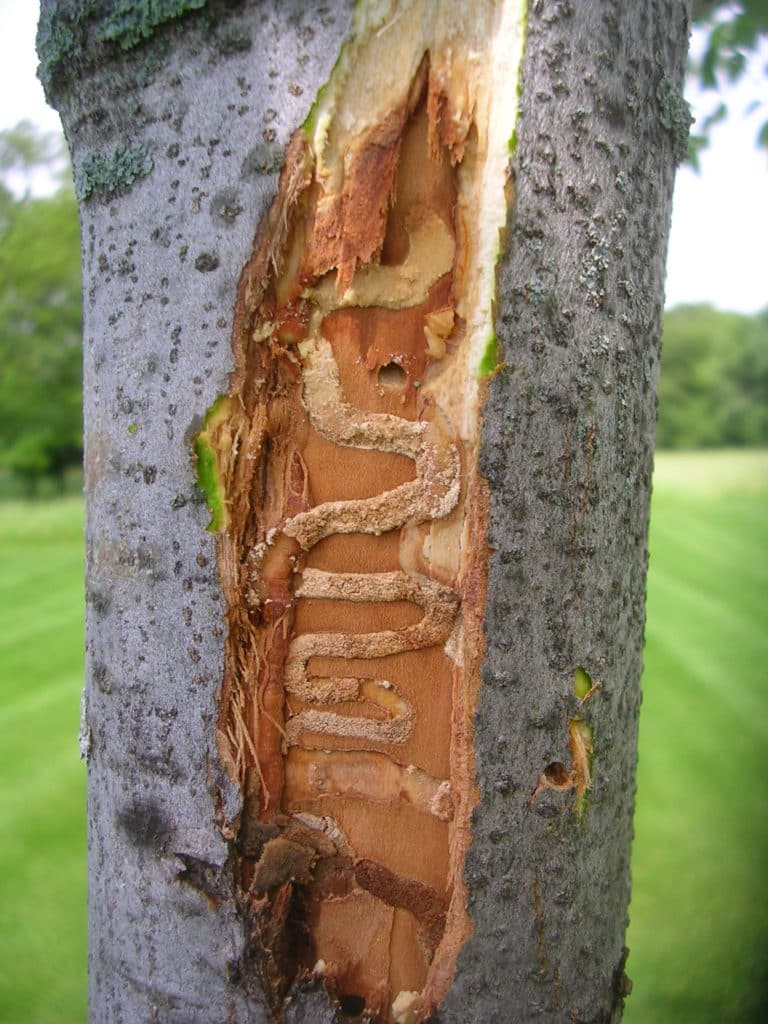 A young ash tree with EAB damage
 Julie Bawden-Davis is a garden writer and master gardener, who since 1985 has written for publications such as Organic Gardening, Wildflower, Better Homes and Gardens and The Los Angeles Times. She is the author of seven books, including