Preparing Your Lawn and Garden for Fall and Winter
Fall’s shorter days and cooler weather signals that it’s time to prepare your garden for the coming cold season. Take the time now to perform the following gardening chores and you can look forward to a healthy cold weather landscape and vibrant garden next spring.
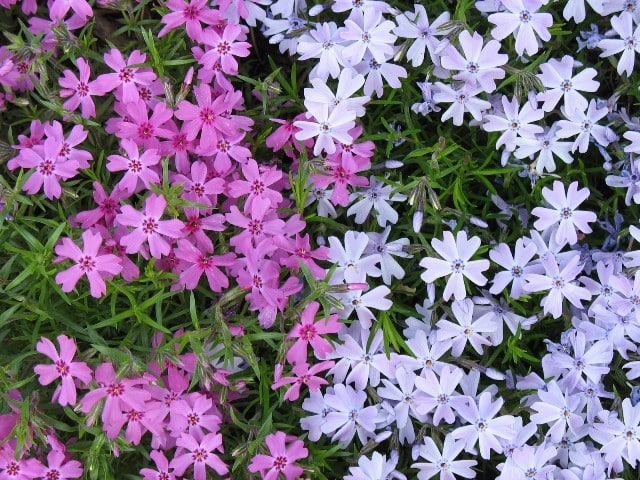
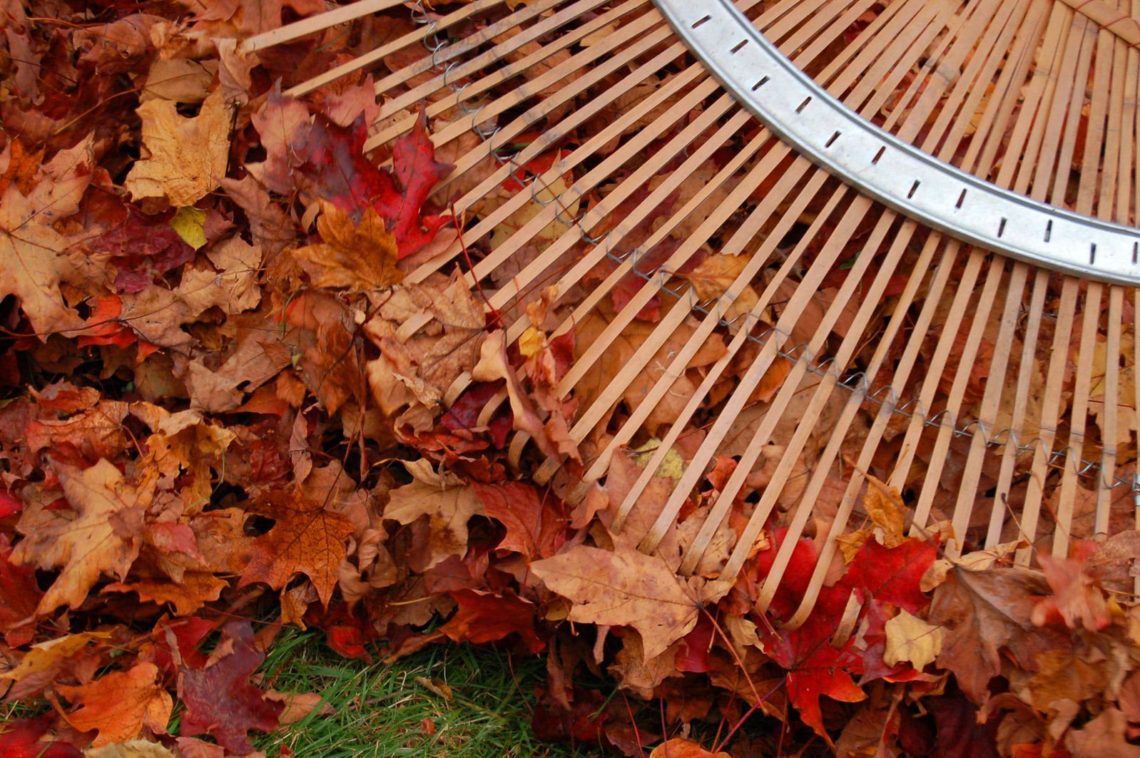
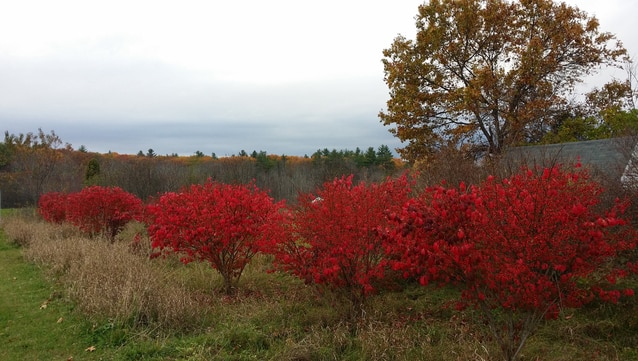
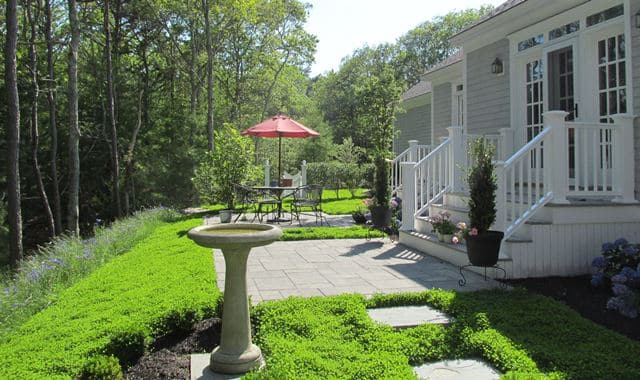
Clean up Leaf Litter Before the winds start blowing stray leaves around your yard, rake them up. Certain diseases and pests tend to overwinter in leaf litter in some climates, so removing them can help keep problems under control and prevent a reoccurrence next spring. In order to keep your fruiting trees, shrubs and vines healthy and disease and pest free, it’s also important to remove any fallen fruit at this time. Make Compost Put the leaves and other plant trimmings you gather during cleanup into your compost pile. If any of your plants had disease or pest problems this year, however, avoid adding them. Bag them up and throw them away, instead, which will prevent perpetuating the problems. Lawn Care Maintaining a healthy lawn throughout the winter requires that you mow to 2 to 3 inches high now and apply a ½-inch layer of compost mulch. It’s also a good idea to aerate the lawn, especially in those parts of the lawn that have become compacted. This ensures that water penetrates the turf, rather than running off or waterlogging. Also fertilize once more for the year.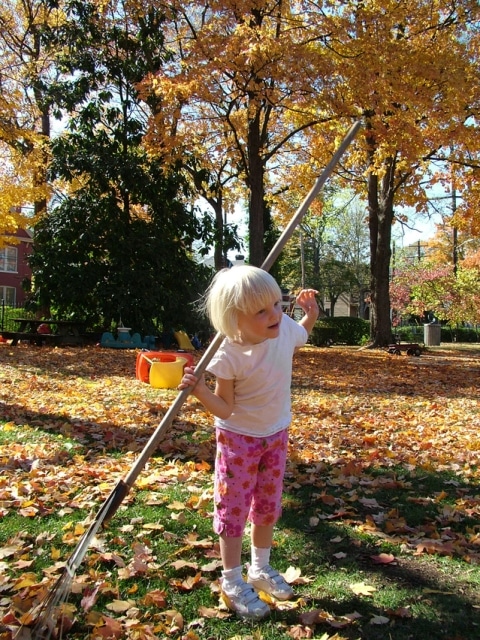
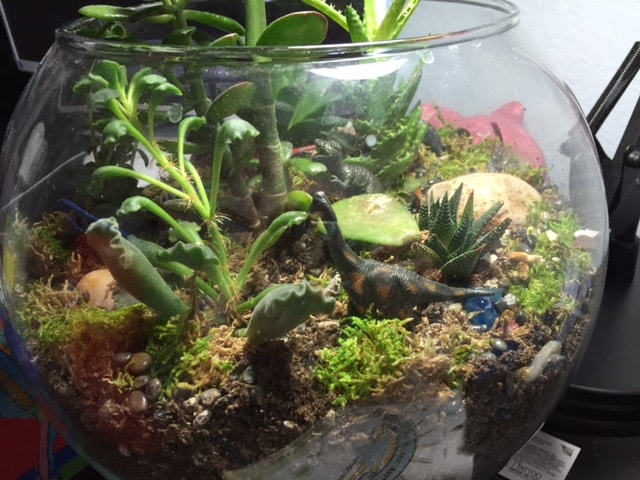
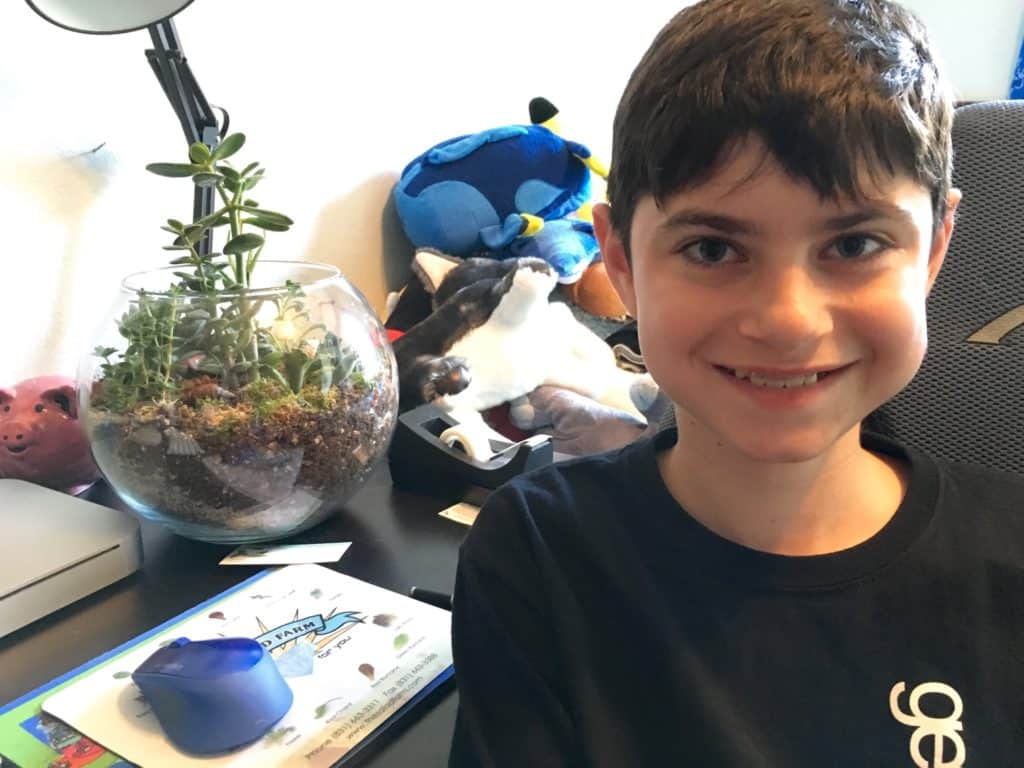 Logan enjoyed making the terrarium, because it enabled him to express his creativity, and he enjoys science, especially studying paleontology.
Here are Logan’s tips for creating a kid’s terrarium garden.
Start with a theme. Having a plan when it comes to the terrarium allows you and your child to create a scene that tells a story. Let your imaginations run wild and brainstorm. Options include a dinosaur kingdom, mermaids, beach scene, forest full of elves and the depiction of a favorite fairytale or a
Logan enjoyed making the terrarium, because it enabled him to express his creativity, and he enjoys science, especially studying paleontology.
Here are Logan’s tips for creating a kid’s terrarium garden.
Start with a theme. Having a plan when it comes to the terrarium allows you and your child to create a scene that tells a story. Let your imaginations run wild and brainstorm. Options include a dinosaur kingdom, mermaids, beach scene, forest full of elves and the depiction of a favorite fairytale or a 
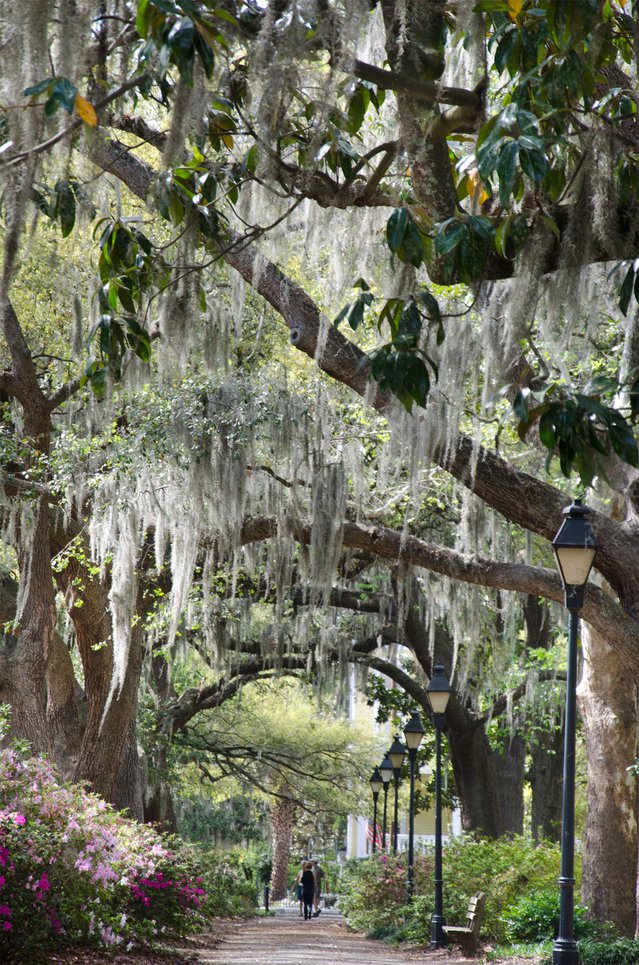 Savannah Park

 (Michael and Christa Richert/FreeImages.com)
 (Janet Burgess, FreeImages.com)
 (meltingdog/FreeImages.com)
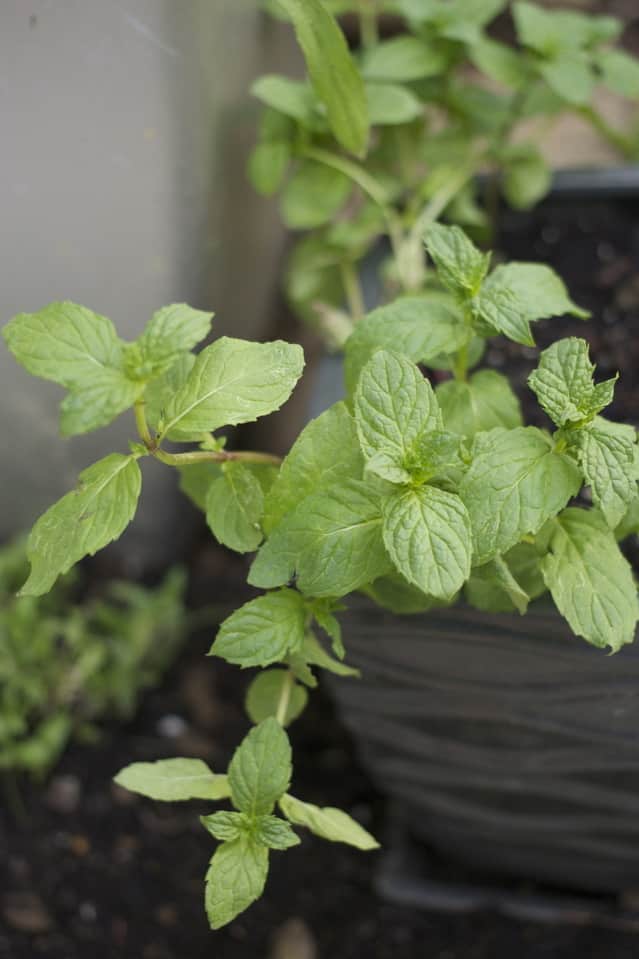

 (Michael & Christa Richert/FreeImages.com)


 (Susie Uebler/FreeImages.com)

 ( Landscaping Plants Nursery)
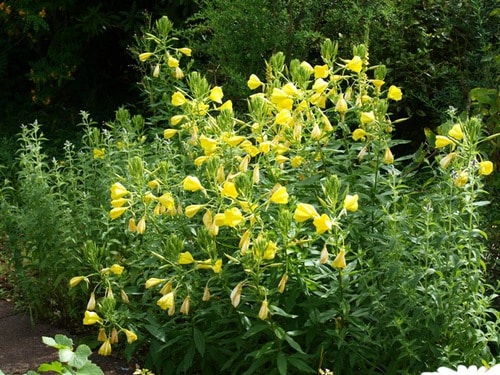
 (Claudia Meyer/FreeImages.com)
 (Eileen Klinger/FreeImages.com)


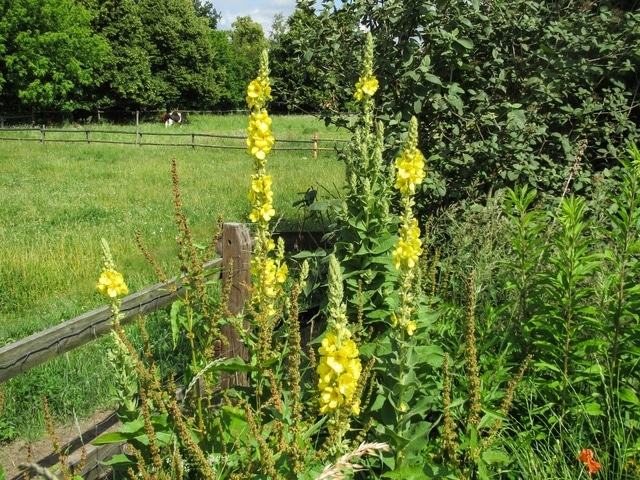
 (Joe Zlomek/FreeImages.com)
 (Sandra Cunningham/FreeImages.com)


 (FreeImages.com/Simon Coomber)
 (FreeImages.com/Jean-Pierre Cremers)
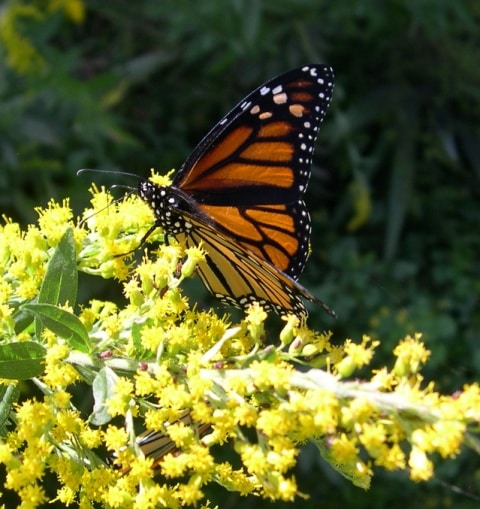
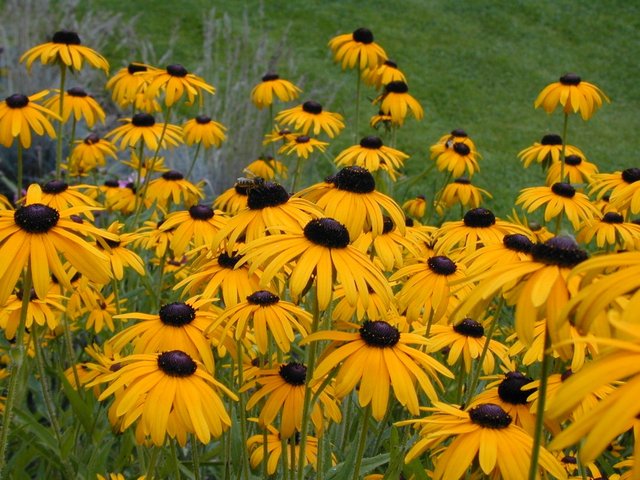
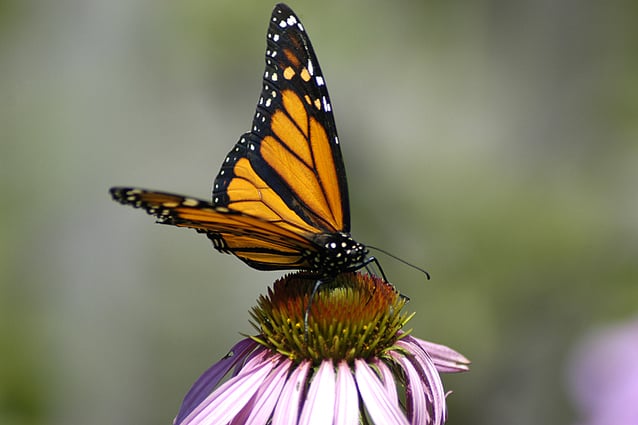 Monarch on Cone Flower
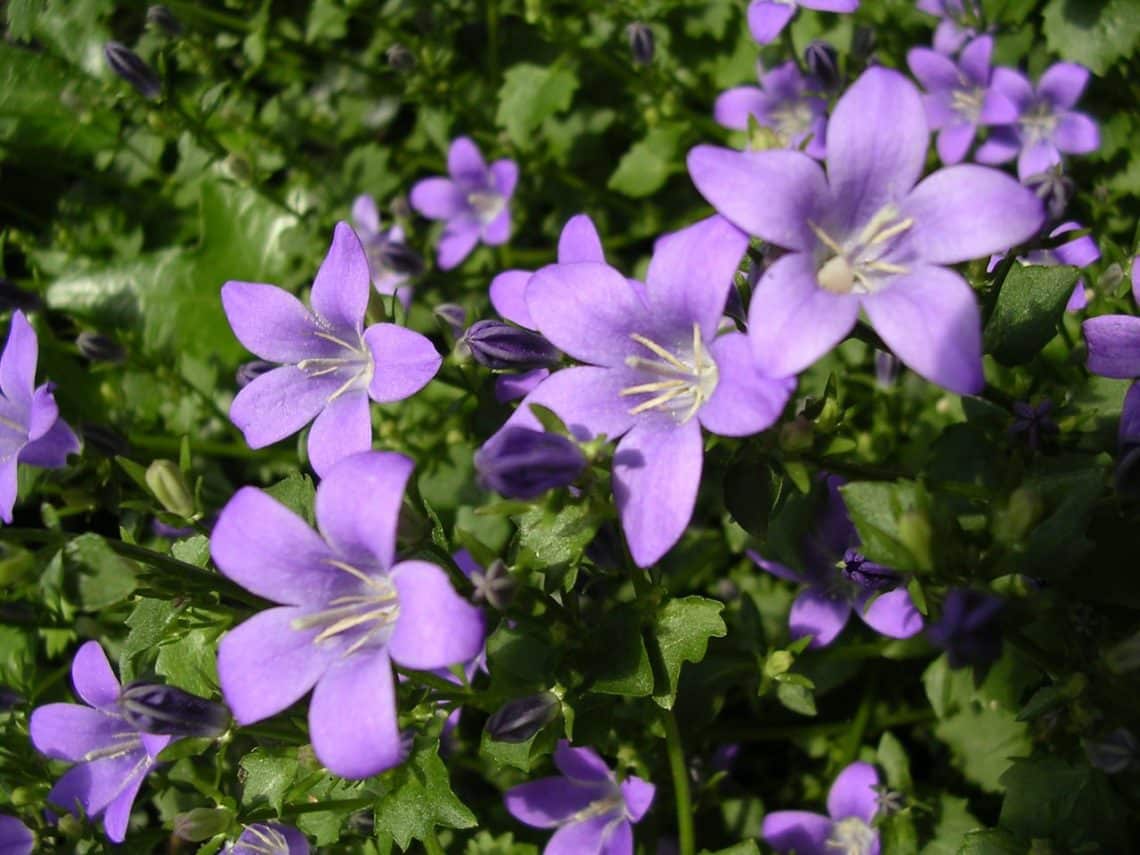
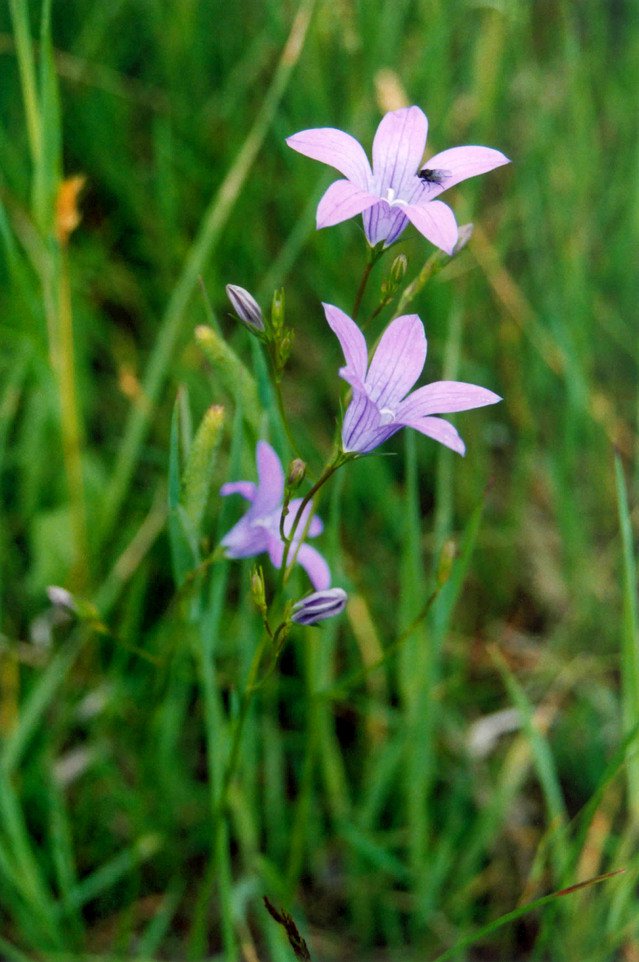 Campanula
  Campanula
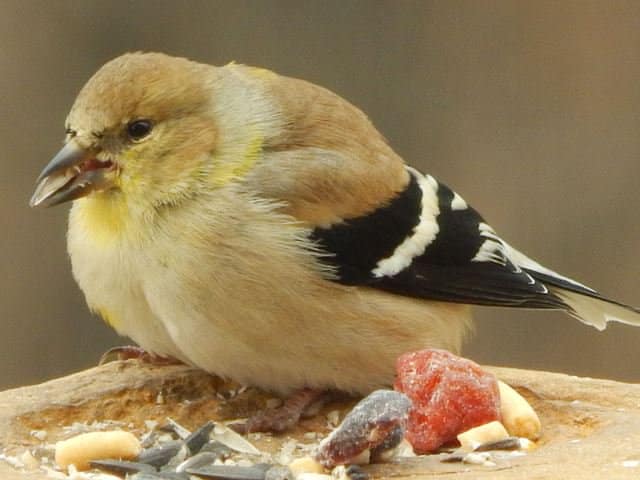
 (Cole’s Wild Bird Products)
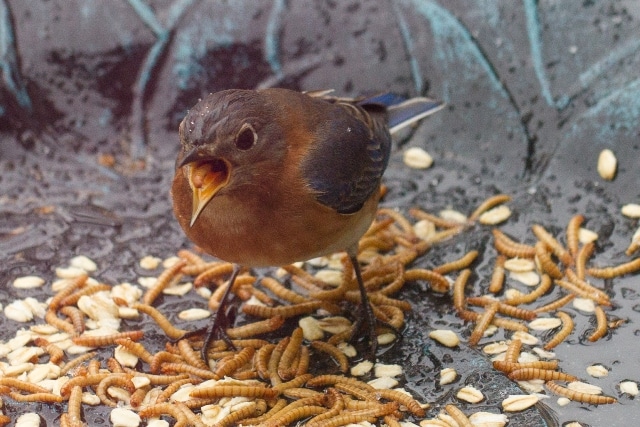

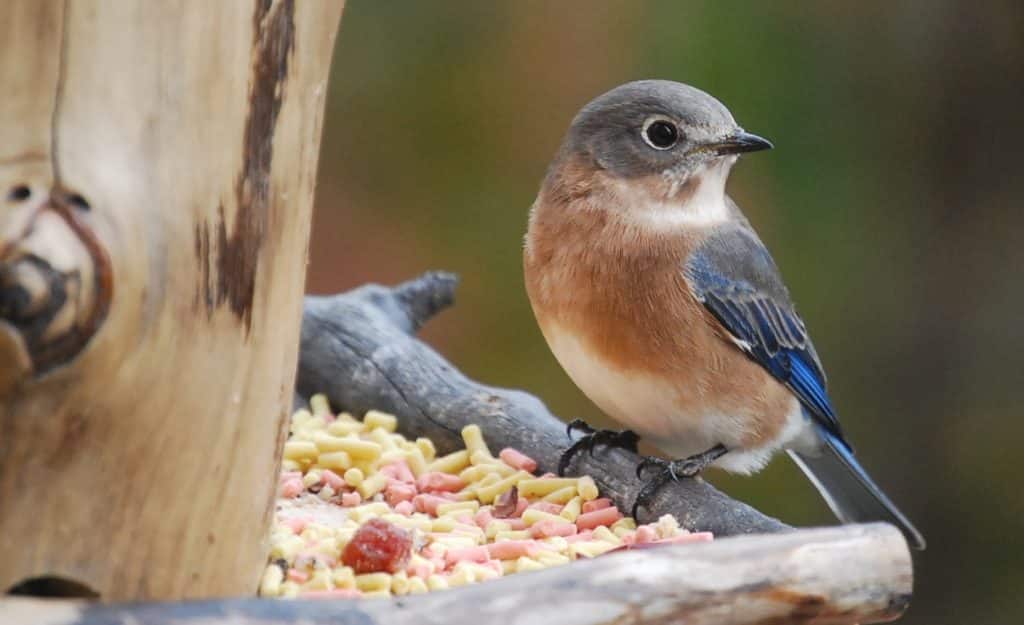
 (Scascha/FreeImages.com)

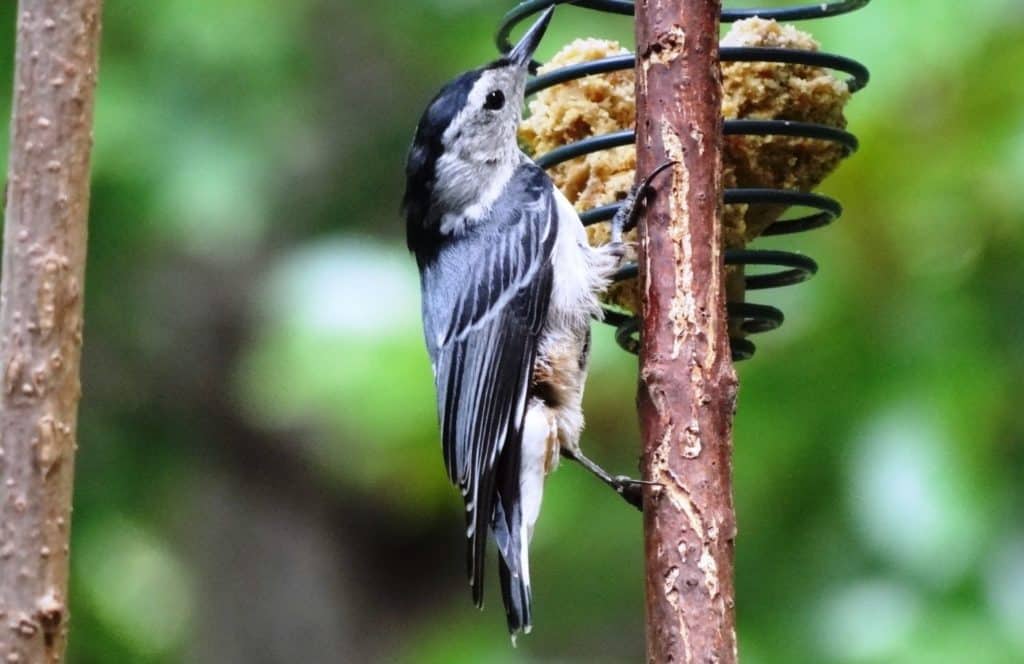
 (Freeimages.com/Gillian Townsend)


 (Paul Kempin/Freeimages.com)